My Go To French Bread Recipe: Easy, Cozy, and Perfect for Beginners
- Kelsey

- Jan 25
- 4 min read
Updated: Feb 5

If I had to pick one bread to bake over and over again, it would be this French bread.
It’s the bread that gets torn apart and dunked into soup.
The bread that scoops up pasta sauce when the noodles are gone.
The bread that shows up warm on the table with a little dish of olive oil and quietly steals the whole meal.
Best of all? It’s incredibly beginner-friendly.
If you’ve ever thought “I want to bake bread, but yeast intimidates me” (I was this person) this is the recipe I would hand you. It’s simple, forgiving, and teaches you what bread dough is supposed to feel like, without being fussy or precious about it.
Let’s walk through it together, step by step.
Why This French Bread Works for Beginners
Simple ingredients you probably already have
No special shaping skills required
Flexible rise times (life-friendly bread!)
Can be made into loaves or sandwich rolls
Teaches you what dough should look and feel like
This is less about perfection and more about learning the process.
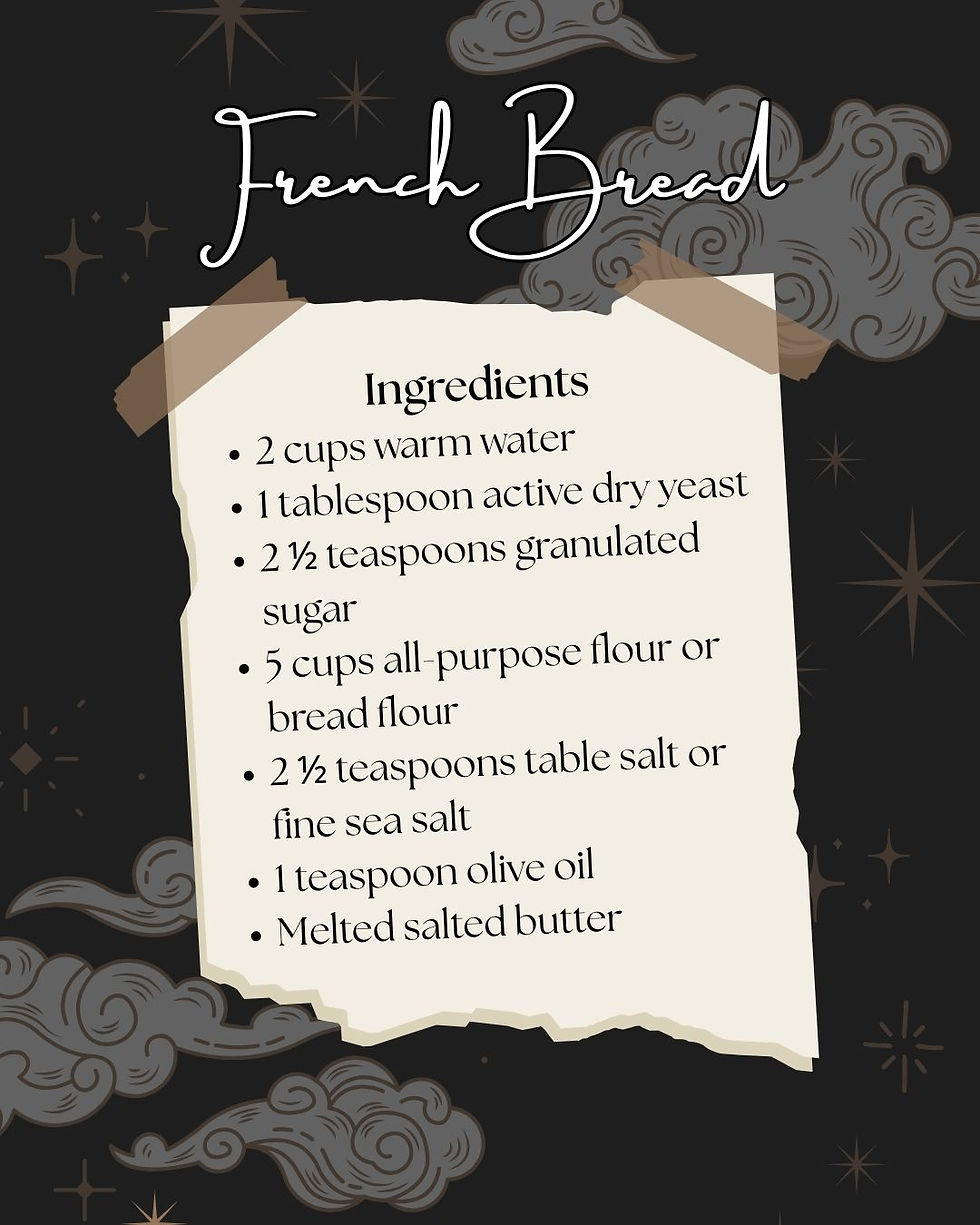
Ingredients
2 cups warm water (about 105°F)
1 tablespoon active dry yeast
2 ½ teaspoons granulated sugar
5 cups (about 650 g) all-purpose flour or bread flour (add more as needed)
2 ½ teaspoons table salt or fine sea salt
1 teaspoon olive oil
Melted salted butter (optional, but highly encouraged)
Step 1: Bloom the Yeast: Don’t Skip This
In a small bowl, combine the warm water, yeast, and sugar.
Let it sit for about 5 minutes, until it becomes foamy and smells slightly yeasty.
This step is called blooming the yeast, and it’s your first little checkpoint.

If nothing happens—no foam, no bubbles—don’t panic. This just means one of two things:
Your water was too cool
Your yeast isn’t fresh anymore
Try again with slightly warmer water (think warm bath water, not hot!) or a new packet of yeast. Getting this step right sets the foundation for everything that follows.
Step 2: Mixing the Dough: Slow and Steady
In a stand mixer fitted with a paddle attachment—or in a large bowl if you’re mixing by hand—stir together 2 cups of flour and the salt.
Pour in the yeast mixture and mix on medium-low speed, or stir with a spoon.
Now comes the important part: adding the rest of the flour slowly.
Add about ½ cup at a time, mixing between additions, until the dough comes together and feels smooth but not sticky. Depending on your climate, you may use slightly more or less than the full 5 cups.
A quick note from experience:
If you dump all the flour in at once, it will absolutely explode out of the bowl and coat you, your counter, and your soul. Ask me how I know.
You don’t need a stand mixer for this recipe—but it does make life easier. If you’re mixing by hand, just take your time. Bread likes patience.
Step 3: The Bulk Rise: Where the Magic Happens
Once the dough is smooth, rub the olive oil around the dough ball, place it back in the bowl, and cover it with a tea towel.
This first rise is called the bulk rise.
You can let it rest anywhere from 15 minutes to an hour—but if you have the time, I highly recommend letting it rise for at least an hour. This longer rest gives you a taller, fluffier loaf with better texture.
Set it somewhere warm and cozy and let the yeast do its thing.
Step 4: Shaping And a Little Flexibility
Turn the dough out onto a well-floured surface and divide it in half.
Roll one half into a rectangle, about 15 inches long. Starting from the long side, gently roll it up into a cylinder.
Here’s where I like to switch things up sometimes:
Instead of making two large loaves, I’ll shape one loaf—and then divide the second half into four smaller pieces to make sandwich or sub rolls.
They bake exactly the same and are perfect for lunches or quick dinners.
Bread should fit your life, not the other way around.
Step 5: Second Rise: Fluffier Is Better
Pinch the seams closed, tuck in the ends, and gently round the edges. Place the loaves (or rolls) on a baking sheet.
Make three diagonal slashes across the top of each loaf—this helps them expand while baking.
Cover lightly with a towel and let them rise again for 30 to 60 minutes.
This second rise is just as important as the first. The longer you can let them rise, the fluffier and lighter your bread will be.
Step 6: Bake Until Golden
Preheat your oven to 400°F and line a baking sheet with parchment paper or a silicone mat.
Bake for 17–23 minutes, until the tops are golden brown. When you knock on the loaf, it should sound hollow.
If the bread is browning too quickly, lightly tent it with foil and lower the oven temperature to 375°F.
Step 7: Finish with Love
As soon as the bread comes out of the oven, brush the tops with melted salted butter.

This is my favorite part:
I sprinkle dried rosemary from my garden and a pinch of coarse salt over the top. It adds just enough flavor to make the bread feel extra special—without overpowering it.
Slice and serve while warm, if you can resist.
Final Thoughts for Beginner Bakers
If this is your first time baking bread, I want you to know something:
You don’t have to be perfect for this to be good.
Bread is forgiving. It’s tactile. It teaches you by feel, not just instructions. And even when it’s a little wonky, it’s still delicious.
This French bread is meant to be used—torn, dipped, dunked, and shared.
And once you make it once? You’ll start reaching for it every time soup is on the stove.
1
Searing the Beef
Sear beef fillets on high heat for 2 minutes per side to form a golden crust. Let it cool before proceeding to keep the beef tender.
2
Mushroom Duxelles
Cook the mushrooms until all moisture evaporates to prevent soggy pastry. Aim for a thick, paste-like consistency.
3
Puff Pastry Handling
Keep the puff pastry cold to avoid softness. Chill if it becomes too soft, and score the top lightly without cutting through.
Notes


1
1. In a small bowl, combine the warm water, yeast, and sugar. Let sit 5 minutes, or until it begins to foam.
2
2. In a stand mixer fitted with a paddle attachment or in a large mixing bowl, stir together 2 cups flour and salt. Stir in the yeast mixture on medium-low speed or by hand. Knead in 1/2 cup of the remaining flour in increments until the dough is smooth but not sticky (depending on climate you could use more or less than 5 cups). Add more flour as needed.
3
3. Rub the olive oil around the dough ball, cover the bowl with a towel and let rest 15 to 30 minutes. If you have more time, let rise up to 1 hour.
4
4. Turn the dough onto a well-floured surface and divide it in half. Set one half aside. Roll the other half into a rectangle (about 15 inches). Starting from the long side, roll the dough into a cylinder.
5
5. Turn both ends in and pinch the seams closed. Round the edges and place onto a baking sheet. Repeat with the second dough ball. Make three diagonal cuts across the top of each loaf. Cover loaves lightly with a towel. Let rise 30 to 60 minutes (the longer the better, if you have the time).
6
6. Preheat the oven to 400°F. Line a baking sheet with a silicone mat or parchment paper. Bake 17 to 23 minutes, or until the tops are golden brown. When you knock on it, it should sound hollow. If it's browning too fast, lightly cover with foil and lower the temperature to 375°F.
7
7. Brush the top with melted butter and dried Italian herbs, if desired. Slice and serve while warm.
Instructions
2 cup warm water (about 105°F)
1 tbsp active dry yeast
2 1/2 tsp granulated sugar
5 cup (650 gram) all-purpose flour
2 1/2 tsp table salt or fine sea salt
1 tsp olive oil
Melted salted butter (garnish)
dried Italian herbs (garnish)
Ingredients for 2 Loafs

French Bread
%20(1).jpg)
Beef Wellington is a luxurious dish featuring tender beef fillet coated with a flavorful mushroom duxelles and wrapped in a golden, flaky puff pastry. Perfect for special occasions, this recipe combines rich flavors and impressive presentation, making it the ultimate centerpiece for any celebration.
Servings :
2 Loafs
Calories:
Prep Time
10 min
Cooking Time
45 min
Rest Time
15 min
Total Time
1 hour 30 min


Comments